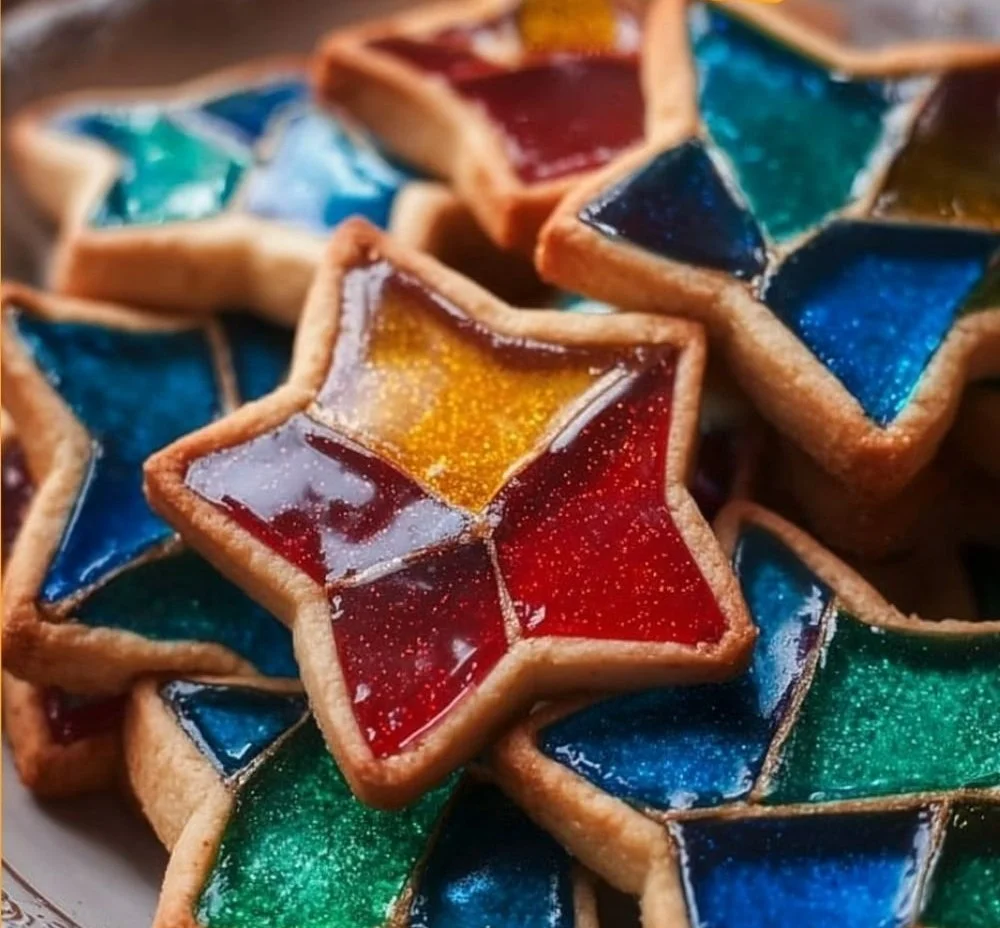
Stained glass cookies are not just your average holiday treat. They’re a colorful, whimsical delight that captures the festive spirit in every bite! My journey with these dazzling cookies began in my own kitchen years ago, inspired by childhood memories of family baking traditions. Each time I make stained glass cookies, the vibrant colors and sweet crunch of the candy filling transport me to those joyous holiday gatherings. Plus, they’re a surefire way to impress friends and family alike!
Why you’ll love this dish
Stained glass cookies are not only fun to make but also bursting with personality. They’re perfect for holiday celebrations, cookie exchanges, or simply because you need a cheerful treat. One of the amazing things about these cookies is how versatile they are. You can customize them with your favorite shapes and colors, making each batch a unique masterpiece.
"These cookies not only look fantastic but taste incredible too! I made them with my kids, and they had a blast decorating." – A happy home baker
Imagine presenting a platter of these stunning cookies at your holiday gathering—the iridescent candy filling catching the light and drawing everyone in. They’re a playful mix of sweetness and nostalgia, making them an irresistibly delightful addition to your baking repertoire.
Step-by-step overview
Making stained glass cookies is a joyful experience filled with creative flair! The process involves mixing, chilling, cutting, and baking, resulting in beautiful cookies that are as enjoyable to make as they are to eat. Get ready to experience a rush of color and flavor as you bring this festive recipe to life!
What you’ll need
To create these enchanting cookies, gather the following ingredients:
- 2 1/2 cups all-purpose flour
- 1 teaspoon baking powder
- 1/2 teaspoon salt
- 1 cup unsalted butter, softened (be sure to let it sit at room temperature)
- 1 cup granulated sugar
- 1 large egg
- 1 teaspoon vanilla extract
- 1 cup crushed hard candies (like Jolly Ranchers), in assorted colors
Feel free to swap the hard candies for any flavors you prefer, making this recipe your own!
Directions to follow
- Preheat your oven to 350°F (175°C).
- In a bowl, whisk together the flour, baking powder, and salt until well combined.
- In another bowl, cream the softened butter and granulated sugar until the mixture is light and fluffy (this should take about 3-5 minutes).
- Beat in the egg and vanilla extract, mixing until thoroughly combined.
- Gradually add the dry ingredients to the wet mixture, mixing until just combined.
- Wrap the dough in plastic wrap and refrigerate for at least 1 hour.
- After chilling, roll out the dough on a floured surface to about 1/4-inch thickness, then cut out your desired shapes.
- Use a smaller cookie cutter to cut out the center of each cookie.
- Place the cookies on a baking sheet and fill the center cutouts with the crushed hard candies.
- Bake for 8-10 minutes or until the edges turn lightly golden.
- Allow the cookies to cool completely on the baking sheet before transferring them.
Best ways to enjoy it
These cookies are a feast for the eyes, so consider placing them on a festive platter or a tiered cake stand for a striking presentation. They pair beautifully with a cup of hot cocoa, spiced tea, or a scoop of vanilla ice cream. You can also sprinkle a bit of edible glitter on top for an extra festive touch!
Storage and reheating tips
To keep your stained glass cookies fresh, store them in an airtight container at room temperature for up to one week. If you have leftovers (which is rare!), freezing them is a great option. Just ensure they are well-wrapped to avoid freezer burn, and they can be stored for up to three months. When you’re ready to enjoy them, let them thaw at room temperature.
Helpful cooking tips
- Ensure your butter is at room temperature for easier creaming and a better texture.
- When crushing hard candies, place them in a sealed plastic bag and use a rolling pin for an even size. This ensures even melting during baking.
- If you want a softer cookie, bake them on the shorter side of the time range mentioned.
Creative twists
Feel free to get creative with your stained glass cookies! Try using flavored gelatin in place of hard candies for a different taste, or incorporate a hint of almond extract for a unique flavor twist. You can also mix different cookie cutters for various holiday shapes, transforming these treats into themed delights!
Your questions answered
Q: Can I use other types of candy besides Jolly Ranchers?
A: Absolutely! Any hard candy that melts well can work. Experiment with different flavors and colors to create your desired effect.
Q: How long does the dough need to chill?
A: Chilling the dough for at least 1 hour is optimal. However, if you’re in a pinch, a 30-minute chill can still yield good results.
Q: Are these cookies suitable for freezing?
A: Yes, they freeze very well! Just make sure to store them in an airtight container and allow them to thaw before serving.
By following these tips and using this straightforward recipe, you’ll be ready to impress your friends and family with stained glass cookies that are as tasty as they are beautiful! Enjoy the festive spirit of baking these delightful treats.

Stained Glass Cookies
Ingredients
Method
- Preheat your oven to 350°F (175°C).
- In a bowl, whisk together the flour, baking powder, and salt until well combined.
- In another bowl, cream the softened butter and granulated sugar until the mixture is light and fluffy (about 3-5 minutes).
- Beat in the egg and vanilla extract, mixing until thoroughly combined.
- Gradually add the dry ingredients to the wet mixture, mixing until just combined.
- Wrap the dough in plastic wrap and refrigerate for at least 1 hour.
- After chilling, roll out the dough on a floured surface to about 1/4-inch thickness, then cut out your desired shapes.
- Use a smaller cookie cutter to cut out the center of each cookie.
- Place the cookies on a baking sheet and fill the center cutouts with the crushed hard candies.
- Bake for 8-10 minutes or until the edges turn lightly golden.
- Allow the cookies to cool completely on the baking sheet before transferring them.

